Reweatherstripping is an easy to do, very effective, and green house warming thing to do. This is a straightforward DIY project that could reduce your energy bills as well. In this guide, we’re going to talk a lot about weatherstripping, including how you can do it in your own home!
Weatherstripping is the process of sealing up gaps or cracks in your house. These gaps can allow air to escape or enter, which makes it more difficult to maintain a comfortable temperature inside your home. Energy use can be affected when you seal these gaps, and your home can get nicer for such as a number of essential reasons That means you could be warmer in the winter and cooler in the summer—without using excessive energy. Let’s walk through the process of weatherstripping your home.
The initial step you require in taking is to seek for breaks or openings in your own home. Typical areas to inspect include around windows, doors, and sometimes up in the attic. And run your hand to feel for drafts of cold air. Reading a candle can uncover missing pieces, too. Because your body is blocking airflow from the top of a window or a door, hold the candle near the edge of the window or door. If the flame flickers or shifts, that indicates air coming in or going out. This is a well being vexation for which you need to any lock up the gap.
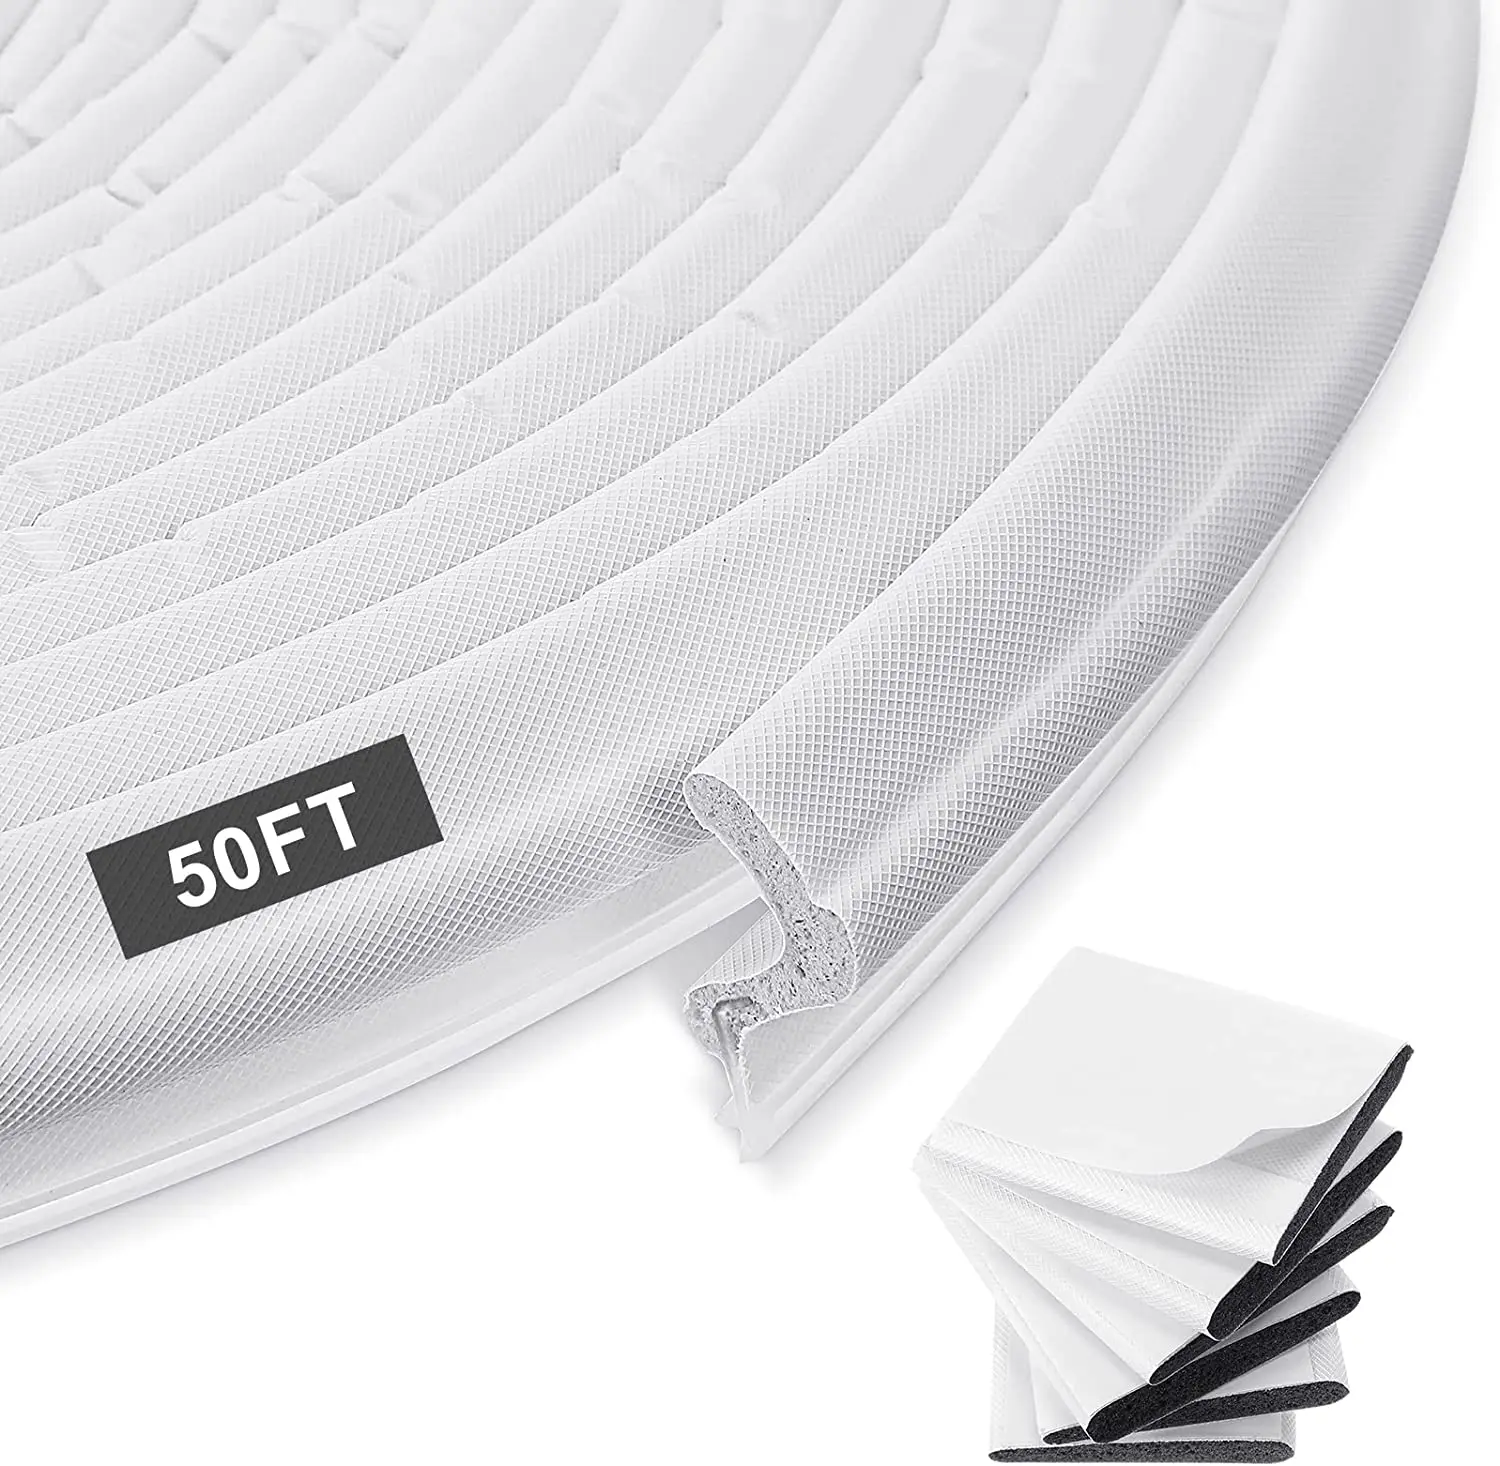
The most common are all-weather materials which will suit your various needs. The type you choose will depend on where and how large the gap is. There are several different types of weatherstripping that you may be able to use, including:
Before installing the weatherstripping, it is important to measure the gaps that you found. This can help you determine how much weatherstrip you will need to purchase. Measure — With a measuring tape, measure the length and width of each gap. You need to register the measurements and get the proper amount of materials.
Now that you have weatherstripping, it provides time to apply it! Follow the directions that came with the weatherstripping you purchased. Typically, you will need to trim the weatherstripping to size according to your measurements. If the material has a removable backing, peel it off after cutting, and then press it to the surface along the gap. You must press down on it firmly, so it adheres properly and seals up well.
Check the Fit: Ensure the weatherstripping is tight and all lines are even. Doing so will help make a better seal.
 EN
EN AR
AR BG
BG HR
HR CS
CS DA
DA NL
NL FI
FI FR
FR DE
DE EL
EL HI
HI IT
IT JA
JA KO
KO NO
NO PL
PL PT
PT RO
RO RU
RU ES
ES SV
SV TL
TL IW
IW ID
ID UK
UK VI
VI SQ
SQ HU
HU TH
TH TR
TR AF
AF MS
MS BN
BN LO
LO LA
LA MN
MN MY
MY KK
KK